Set up, Customize, and Manage Your Communities
Step 1: Setting up your Communities Domain

To configure your domain for communities, follow these steps:
Start by accessing the "Communities" section within the Memberships area in the sidebar.
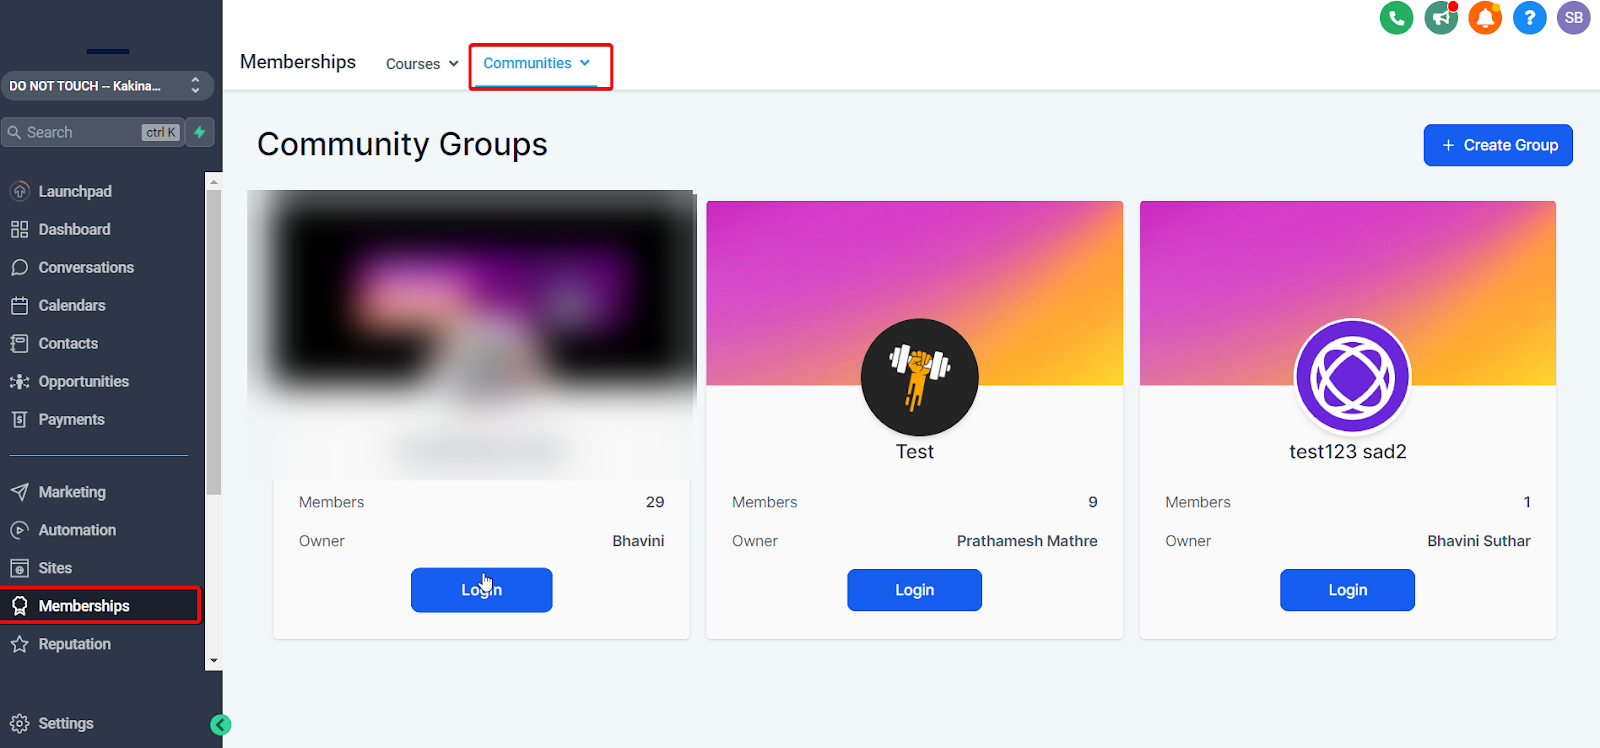
It will automatically redirect you to personalize your client portal subdomain.
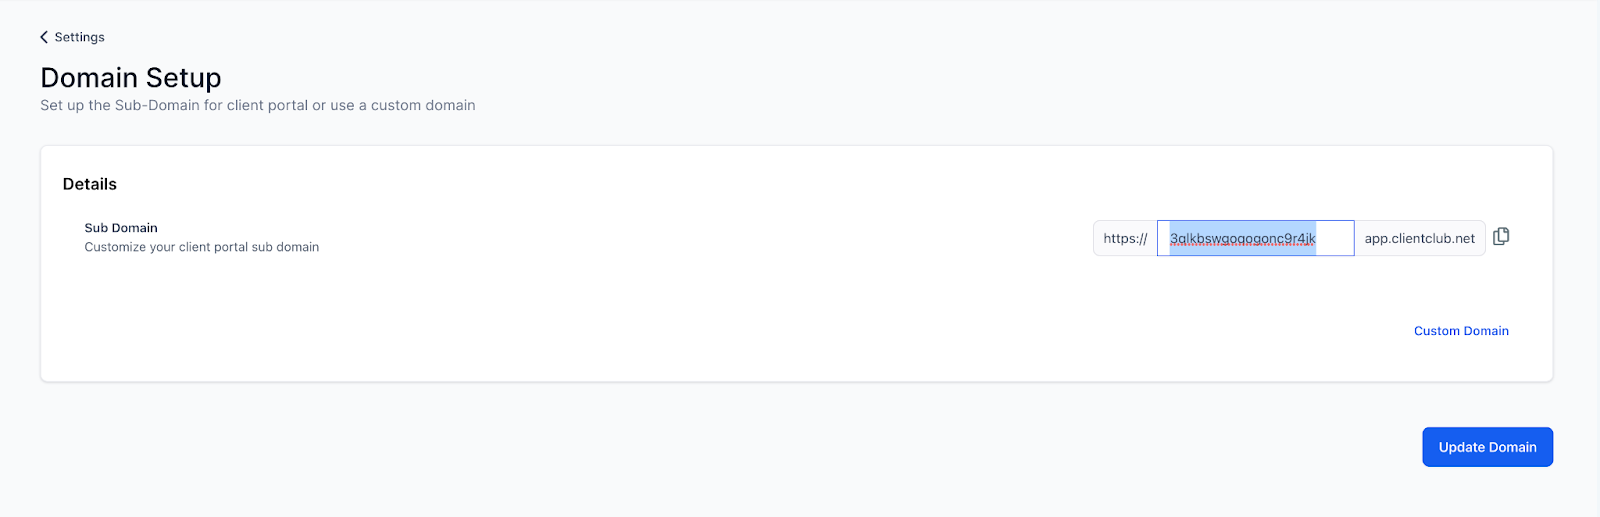
Utilize a pre-configured subdomain under "clientclub.net". This subdomain is already set up and ready to be used immediately. Simply edit the string of letters and numbers to be “yourgymname”, then scroll down and hit Update Domain to activate this functionality.
Step 2: Setting up Groups
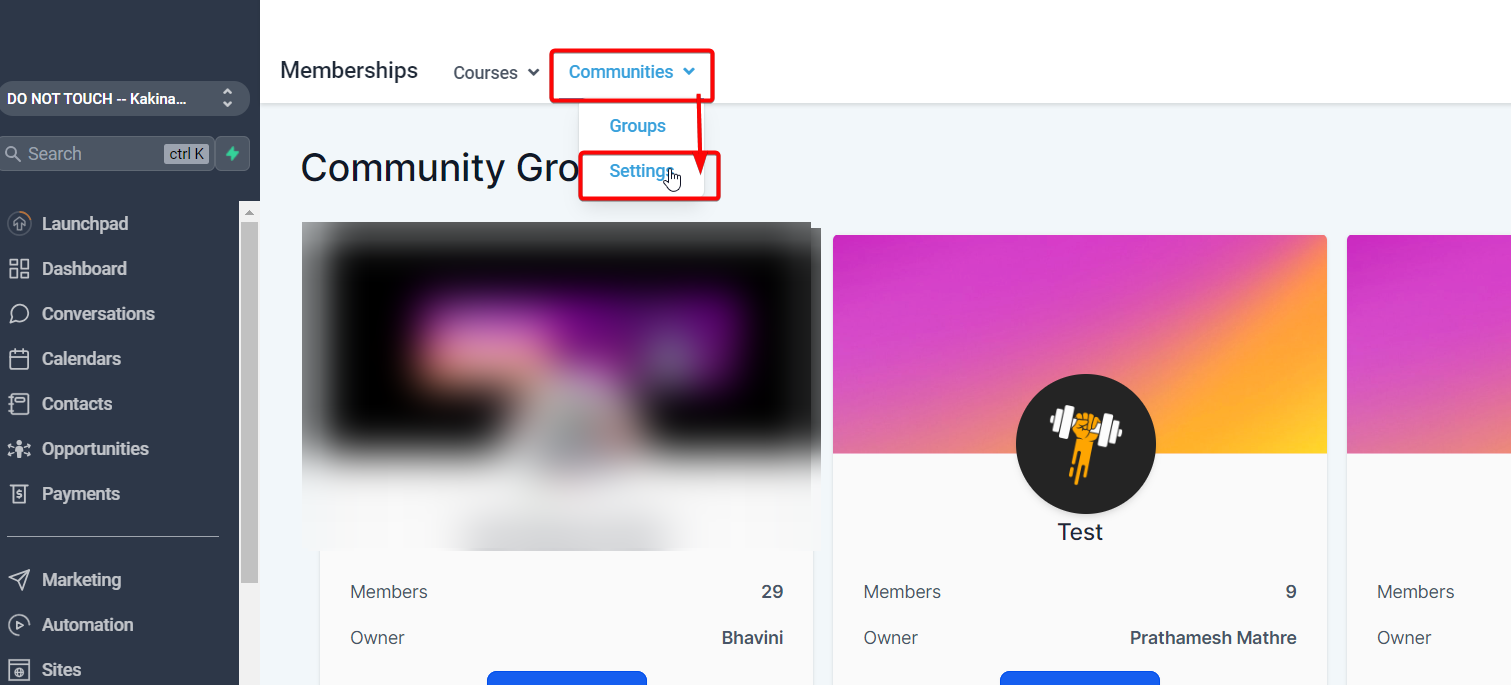
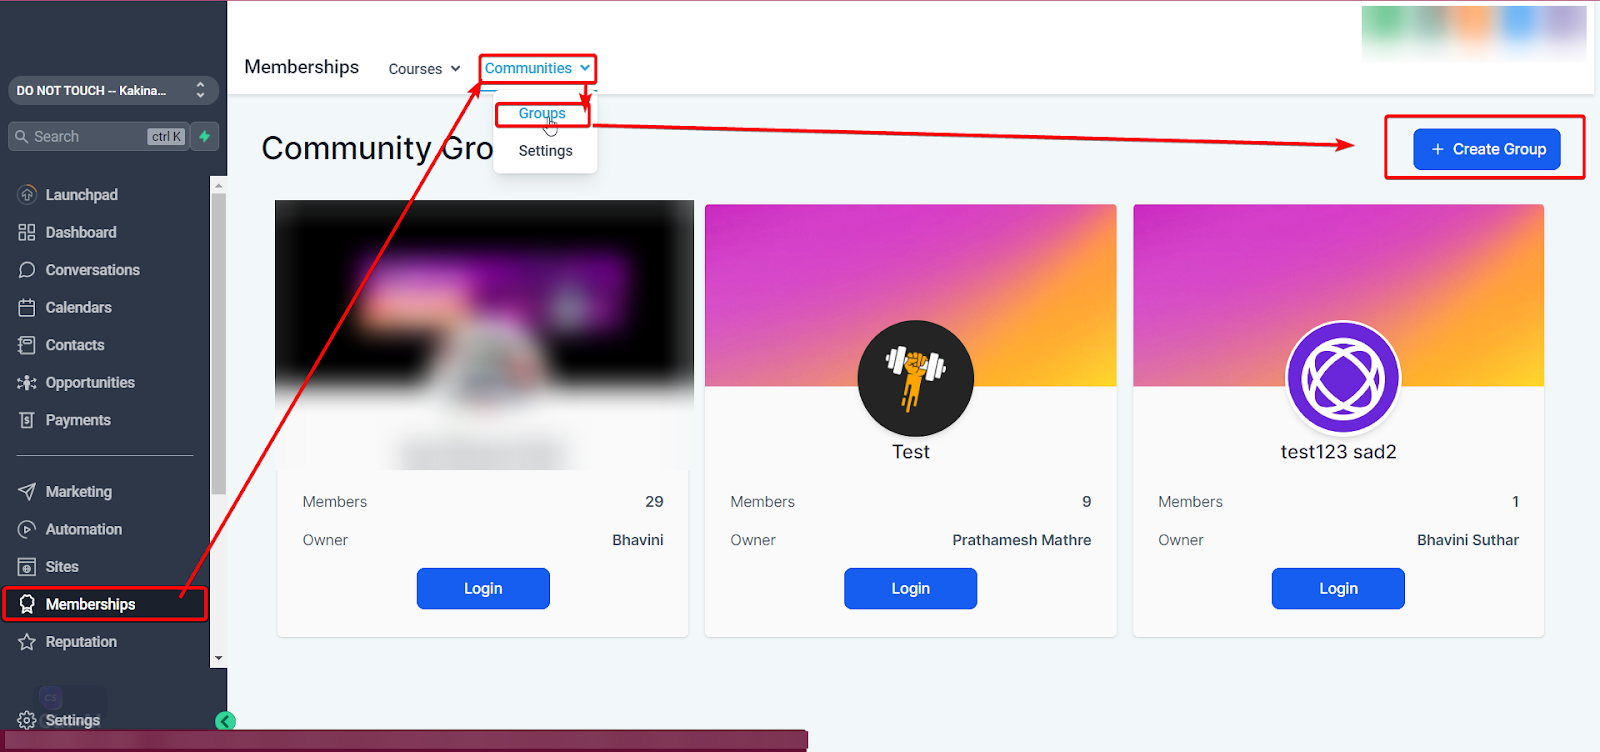
After setting up your domain, you will have the ability to create Groups within a Community. To initiate the creation of a group, access the "Communities" section of the platform. Head to “Memberships” → “Communities” → "Groups".
Locate and click the "Create Group" option.
Here, you will be presented with a form or settings page to fill in the necessary details for your group.
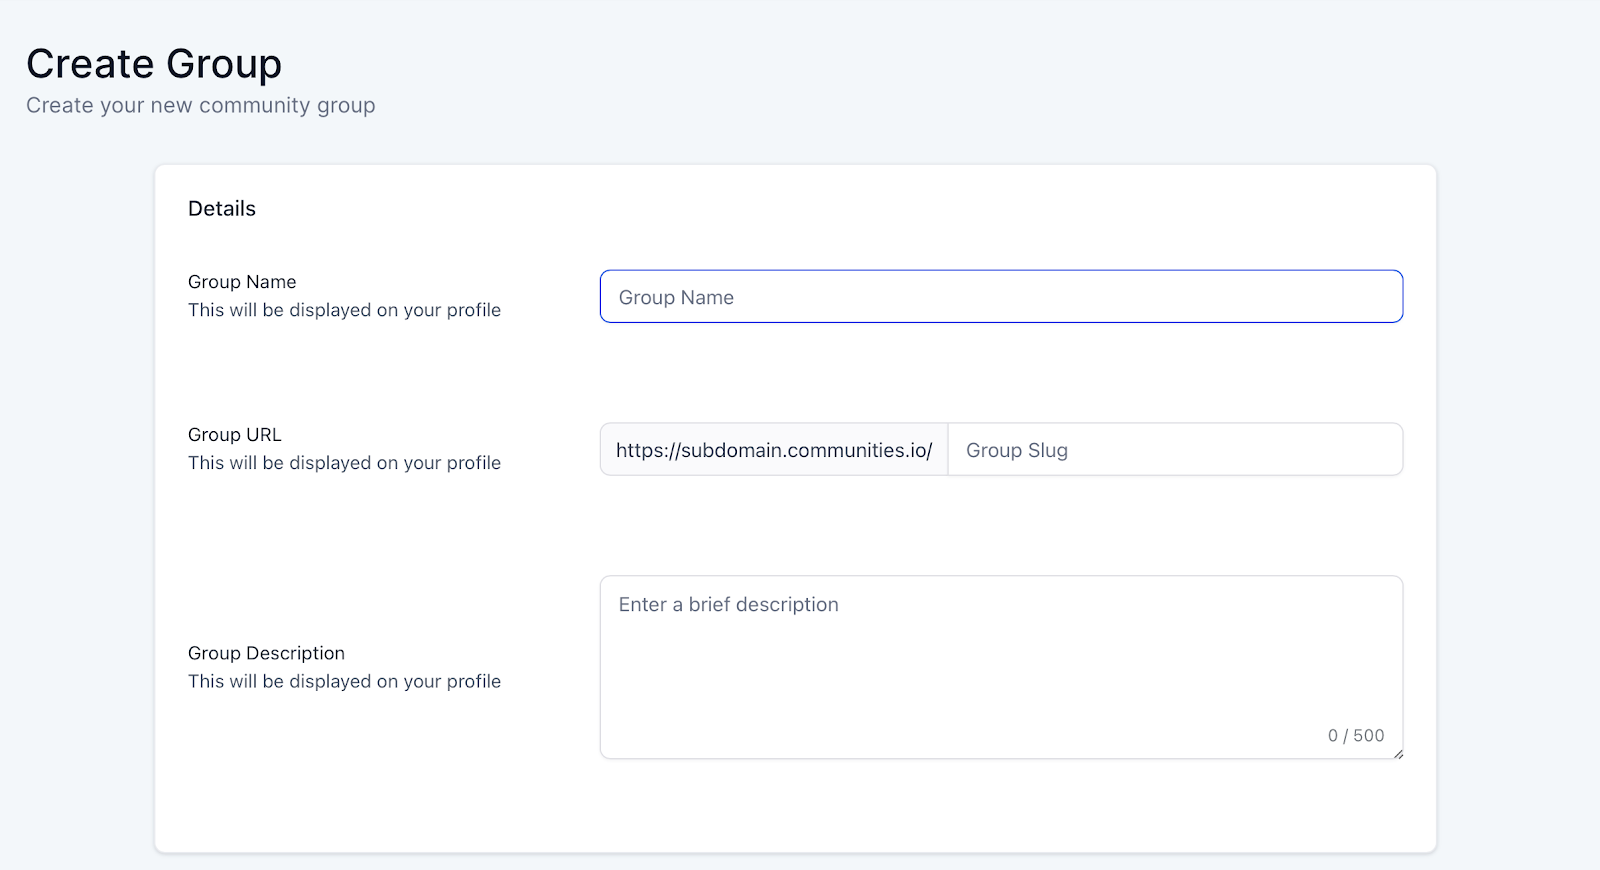
Group Name: This field is where you provide a unique name for your group, which will serve as the main identifier for your community. This should be related to the group's purpose or topic. For example, if you're creating a group about digital marketing, you might name it "Digital Marketing Enthusiasts."
Group URL (Group Slug): This is the unique web address where your group will be located. It should be easy to remember and share. Typically, it might be a simplified or abbreviated version of your group name, such as "digital-marketing," if your group name is "Digital Marketing Enthusiasts."
Group Description: This section should briefly outline what your group is about, the kind of discussions that will take place, and what members can expect from being a part of the group. For instance, you might describe the Digital Marketing Enthusiasts group as "A community for digital marketing professionals and enthusiasts to share strategies, tools, and trends in the industry."
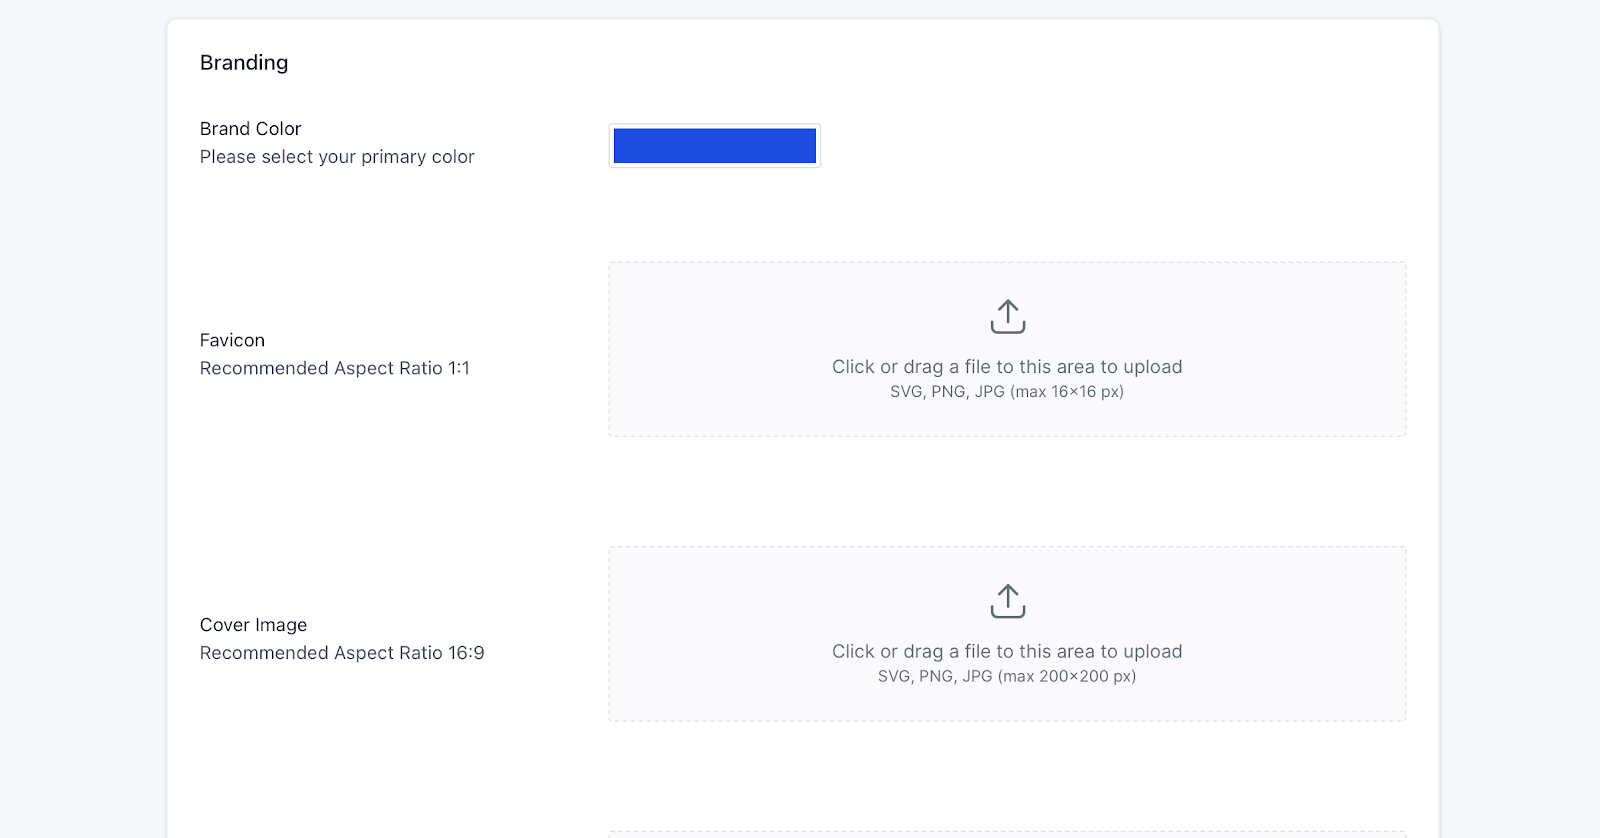
Brand Color: Choose a color that represents your group or your brand. This color will be used in your group's design to provide a consistent look and feel.
Favicon: This small icon will appear in the browser tab when someone is viewing your group. Ideally, it should be a small version of your logo or a symbol representing your group.
Cover Image: The main image will appear at the top of your group's page. It should be visually appealing and relevant to your group's topic. The recommended aspect ratio is 16:9, and the image should be clear at a resolution of 200x200 pixels.
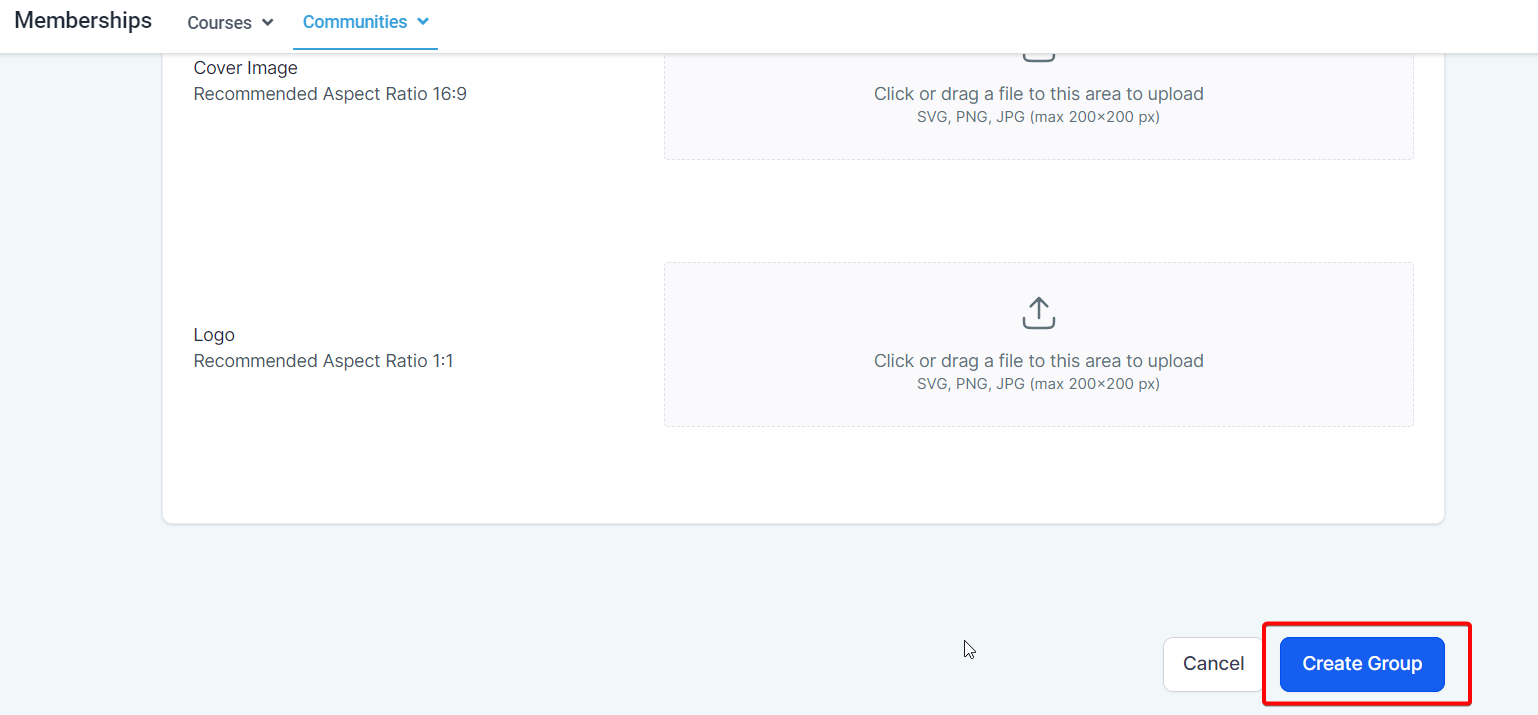
Logo: This is the main logo for your group, which will appear in various places, such as the group switcher. It should ideally be square, with a 1:1 aspect ratio, and clear at a resolution of 200x200 pixels.
Once you have filled in the required details, create the group using the provided options or buttons.
Please Note: The individual who initiates the group creation process automatically becomes the owner of that group, assuming administrative responsibilities and privileges within the group.
Step 3: Add Members to the Group
To enable members to join your group, you must provide them with a unique URL specific to the group within your community. This URL will direct them to a customized page where they can sign up and create a profile shared across all the groups within the community. Here's a detailed version of the process:
Invite Potential Members: You can send personalized invitations via email, SMS, or other communication platforms, providing potential members with the group's unique URL.
Joining the Group: Members can click on the provided URL, leading them to a dedicated page where they can join the group.
Members can join multiple groups within the community based on their interests, preferences, or professional needs, fostering a more dynamic and interactive community experience.
Send an email or SMS to potential members, providing them with the group's URL and inviting them to join.
Members can click on the provided URL, leading them to a page where they can join the group. Upon clicking "Join Group," they will be prompted to sign up for the client portal.
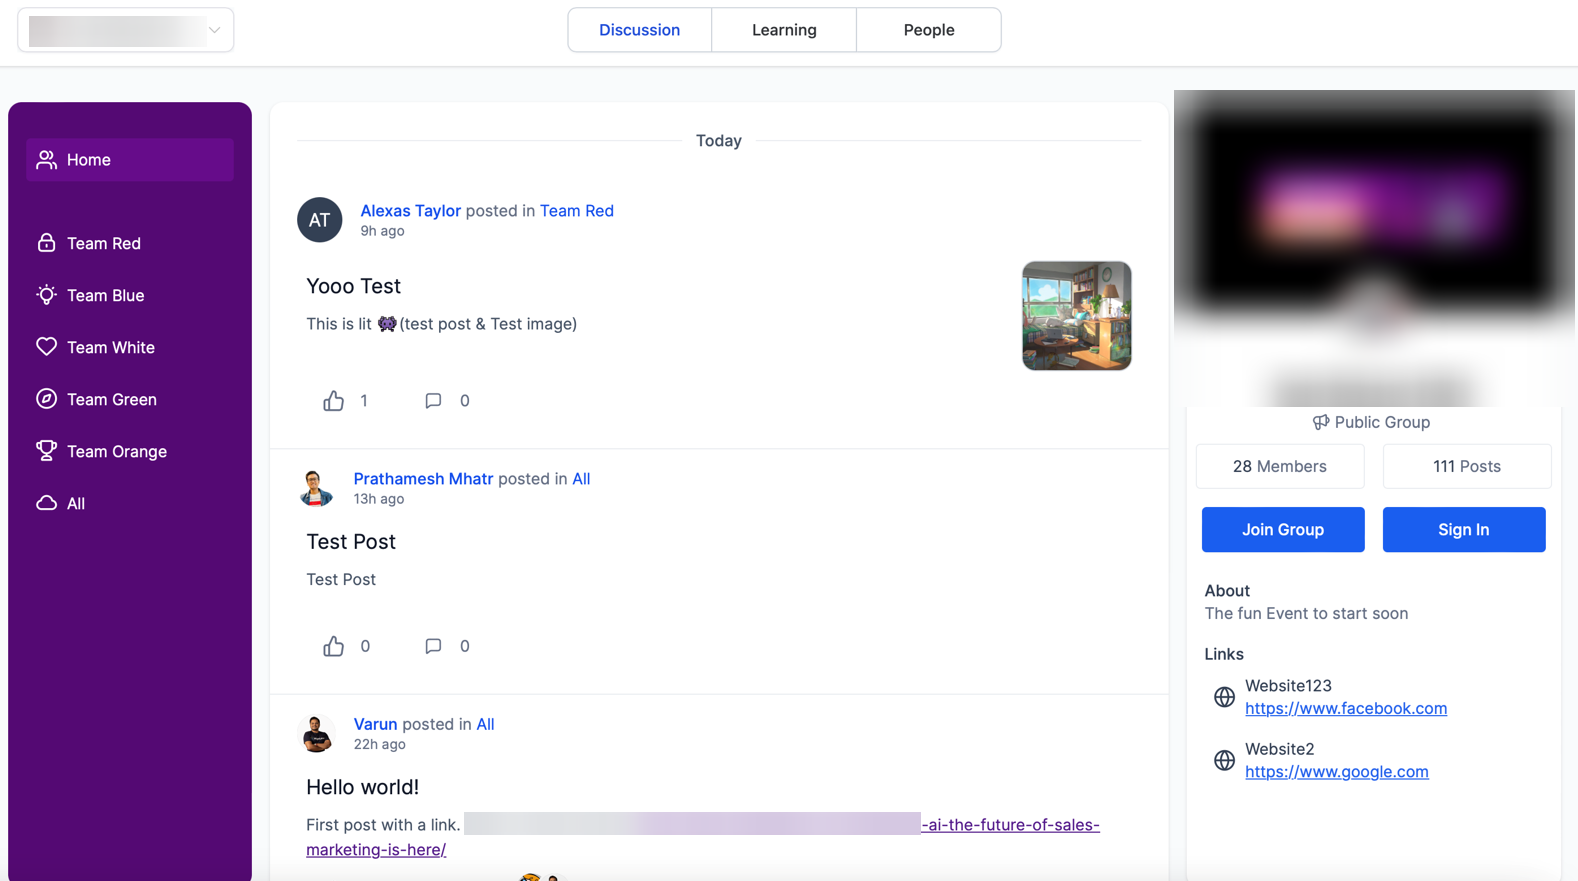
Once they sign up or log in, they gain access to the client portal and can choose to participate in any of the available groups within the community.
Step 4: Customizing your Groups
You can personalize and customize your community groups to align with your brand and community objectives. The initial customization you performed in Step 2 sets the default for your group, but additional options are available to refine your group's appearance and functionality further. Here's a comprehensive guide:
Details
Group Name and Description
You can choose a suitable name for your group that aligns with its purpose.
Add a descriptive group description to provide information and context to potential members.

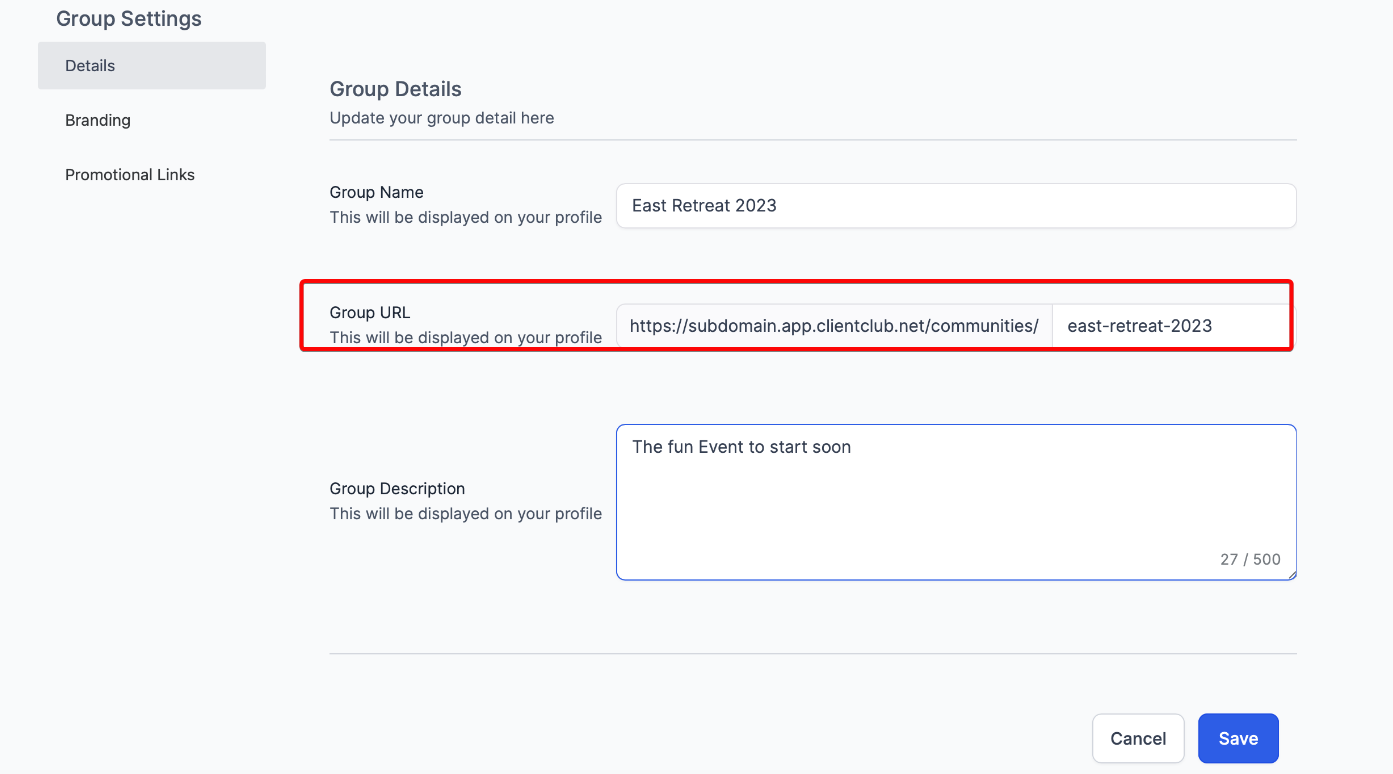
Group URL:
Customize the group's URL to make it more relevant or memorable for your audience.
Each Community Group is initially assigned a default URL, but you can personalize it according to your preferences.
Please Note: You can only modify the group URL once, so it's crucial to double-check your desired URL before saving the changes.
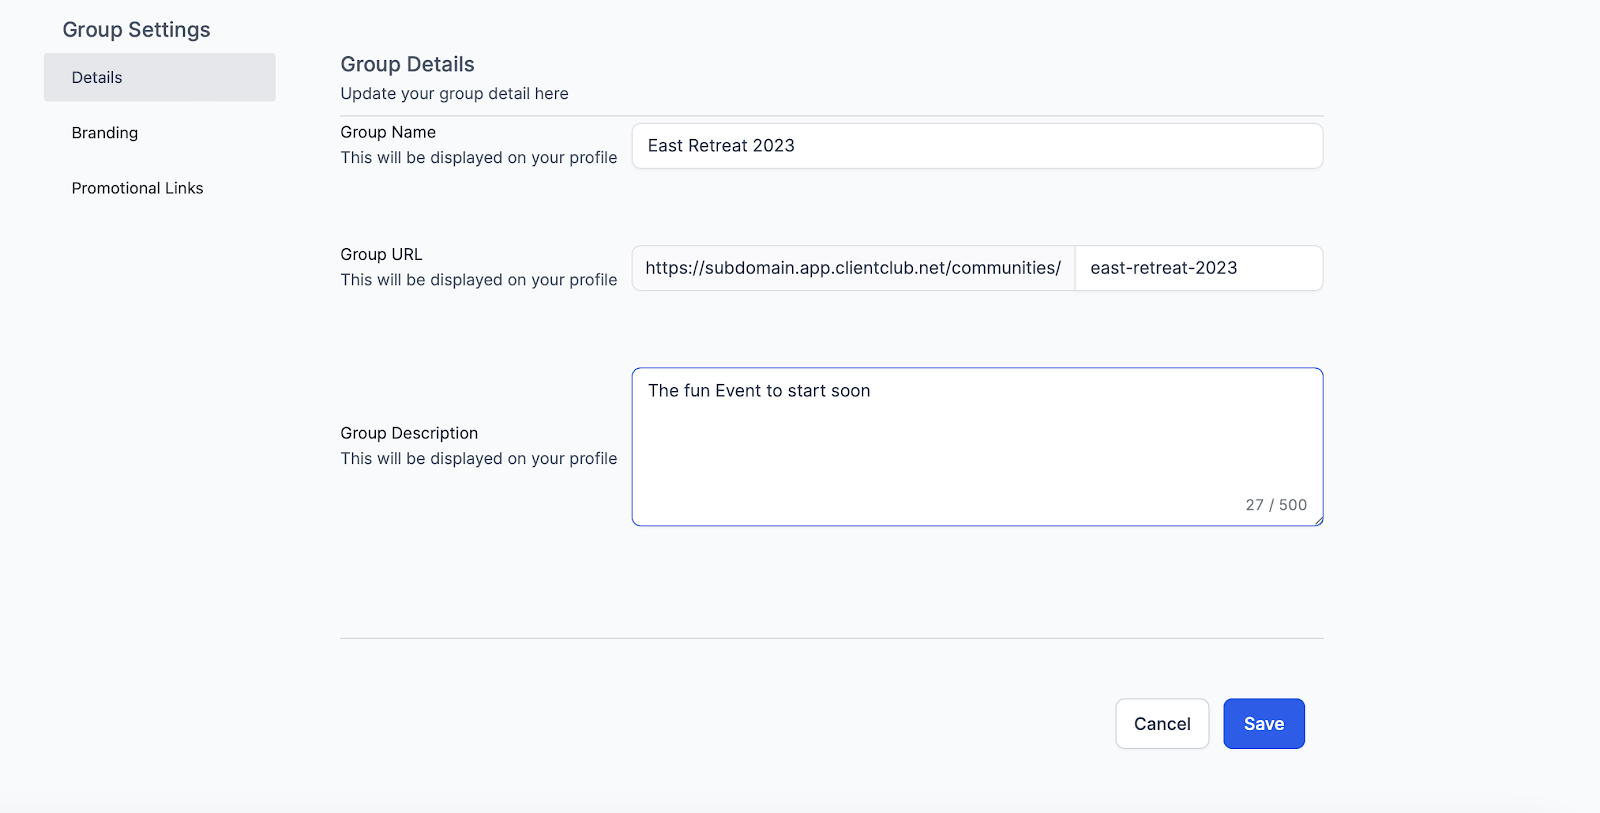
- Access the group settings by clicking on the settings icon at the top of the page.
- In the left menu, locate and click on the "Details" section.
- You will find the option to change the group URL within the Details section.
- Once you have made the necessary adjustments, save the changes.
- Congratulations! Your group now has a customized URL. To confirm the update, you can revisit the settings modal and ensure that your current URL reflects the newly set one.
By following these steps, you can customize your Community group's URL. Please review your changes before finalizing them, as there is a one-time limitation on modifying the group URL.
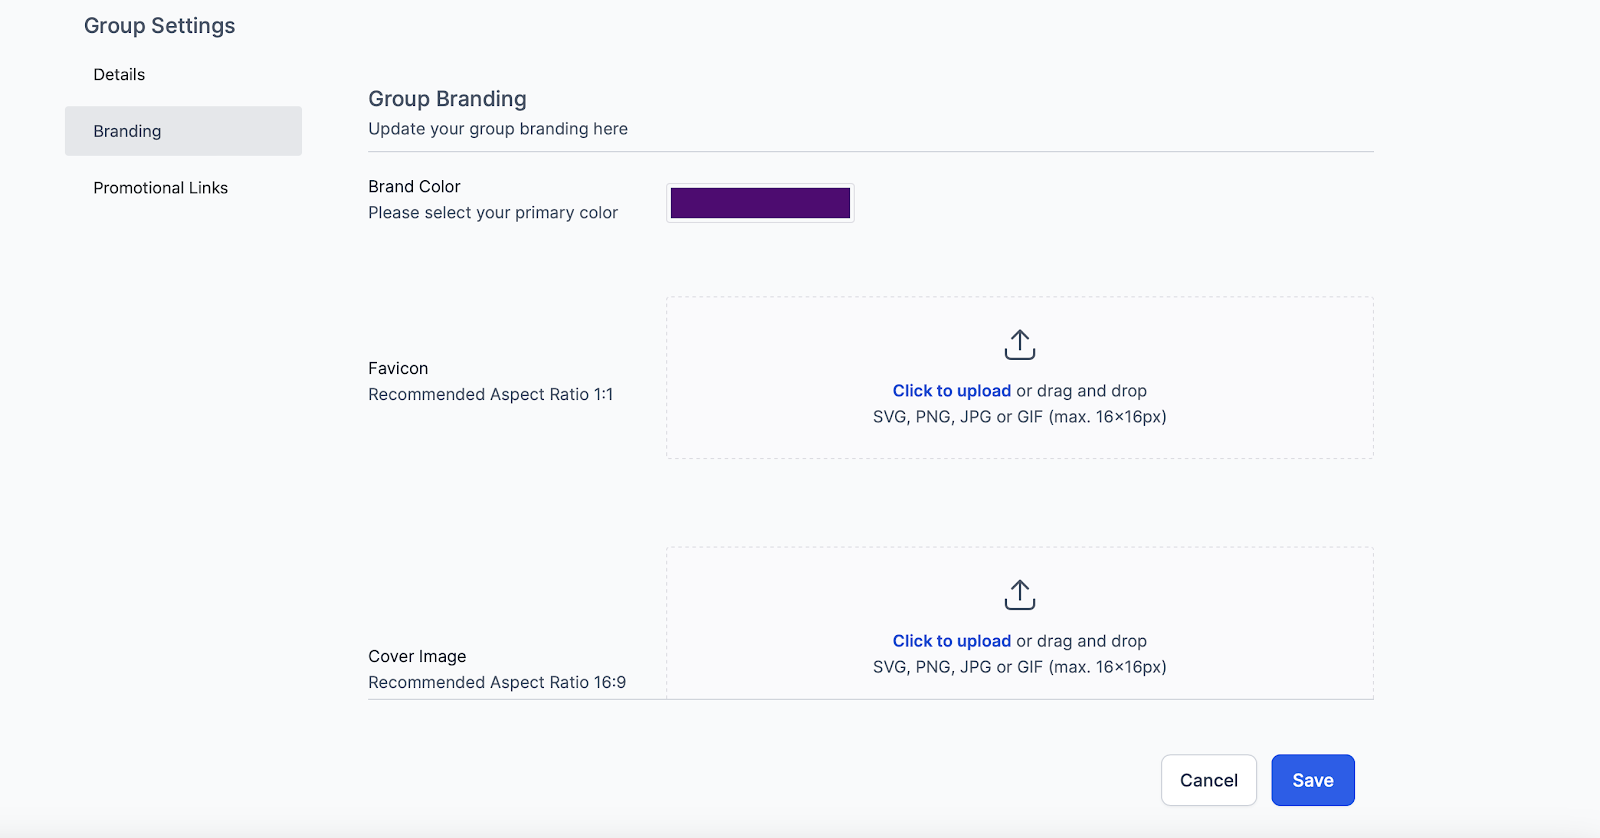
Branding:
Primary Color: Choose a color that mirrors your brand, providing consistency throughout the group.
Group Logo: Upload a logo that will appear in the group switcher for easy identification.
Cover Image: Add a visually appealing image that resonates with your group's theme or branding.
Favicon: Include a small icon for browser tabs, reinforcing your group's visual identity.
Select a primary color that represents your brand identity. This color will be reflected throughout your group, creating a cohesive visual experience.
Upload a group logo in the group switcher, allowing members to identify and navigate to your group easily.
Add a cover image to personalize the group's appearance and showcase relevant visuals or branding elements.
Include a favicon, a small icon displayed in the browser tab, to further enhance your group's branding.
Promotional Links:
Integration: Incorporate promotional links within your group, adding a title and corresponding URL.
Visibility: These links can be seen by your community members, facilitating the sharing of relevant resources or announcements.
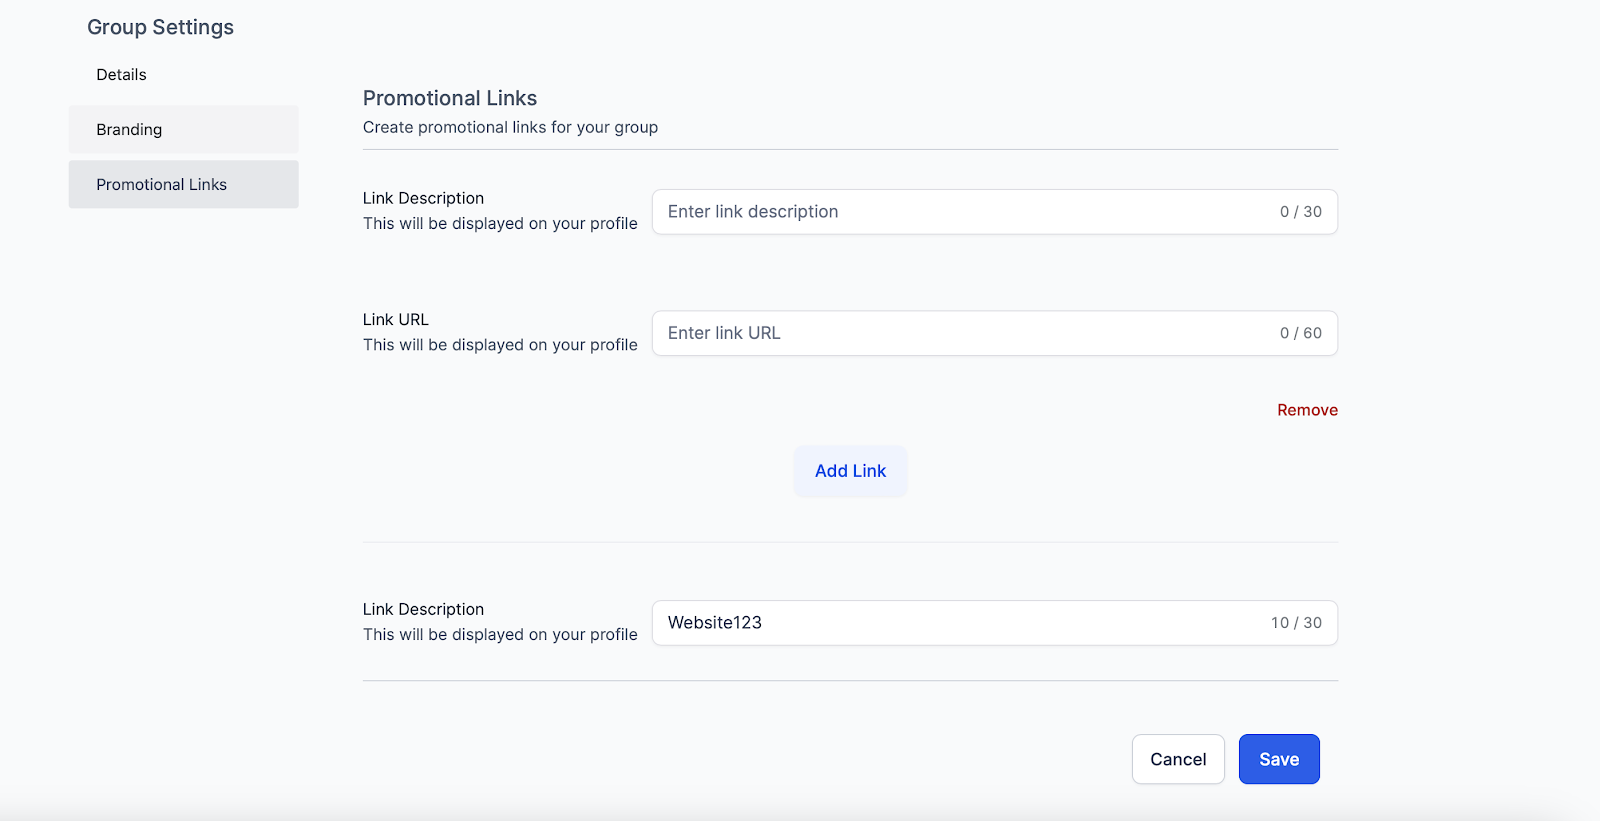
By leveraging these customization options, you can tailor your community group to create a unique and branded experience for your members.
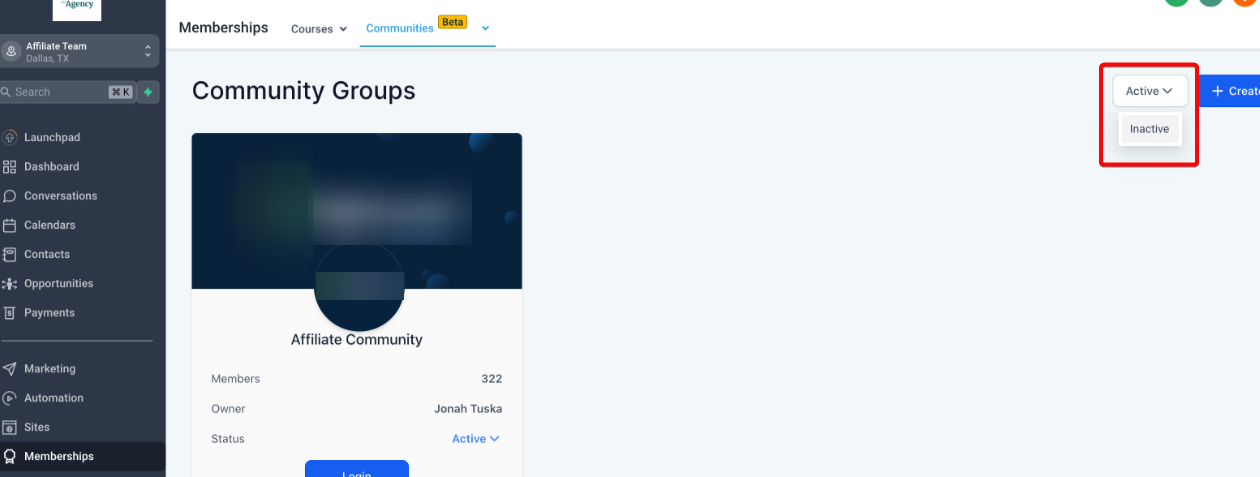
Activate or Deactivate your groups:
You can delete and restore groups easily, giving you better control over group management.
Head over to Memberships> Communities> Status tab for your desired group:

You can switch it to Active to activate your group or Inactive to Deactivate your group.
You can also filter your list of visible groups by whether they are Active or Inactive by clicking on this filter:
Step 5: Sub Account Users Inside community groups
- Creation of Community Group: All user levels, including account users, admins, agency users, and agency admins, have the ability to create a community group.
- Ownership: Upon creating a group, the user becomes the owner of that particular group. It's crucial to note that once ownership is established, it cannot be transferred to another individual.
- Admin Privileges: Sub-account and agency admins are automatically granted admin rights within the community when they access it via the platform. These privileges enable them to oversee and manage various aspects of the community group.
- Moderator Role: In contrast, sub-account and agency users are assigned the role of group moderators when they log in from the builder platform. This role permits them to handle day-to-day moderation tasks within the group.
- Effective Management: This hierarchy and distinction of roles ensure that the community group is effectively managed and moderated. Admins have broader control, while moderators focus on maintaining a positive community environment.
- User Participation: Through these role assignments, sub-account admins, agency admins, sub-account users, and agency users can all actively engage in and oversee the community groups within the platform, each according to their specific permissions and responsibilities.
If you have further questions about how to Set Up, Customize, and Manage Communities in GLM, please contact our Support team at hello@usekilo.com.