


When an athlete says yes, your onboarding workflow should be straightforward, take only a few minutes, and help prevent most future login, payment, and booking issues. This guide walks you step by step from sale to activation to payment to booking, for when you sell through an introductory conversation.
What complete onboarding looks like
By the end of onboarding, your new athlete should:
Have an active Kilo login
Have a payment method on file
Be assigned to the correct package
Be charged
Know how to reserve classes
If all five are done during the intro meeting, you are set up for success. The full workflow in short:
Make the sale
Mark the opportunity as Won in Gym Lead Machine, or add the athlete manually in Kilo GMS
Have them activate their account immediately
Have them log in
Have them add a payment method
Assign the package and charge them
Show them how to reserve classes
Let the New Client campaign in Gym Lead Machine deliver additional information, once you have customized the messaging
Step 1: Make the sale
Confirm the following with the athlete:
Package
Price
Start date
Once they commit, move straight into system onboarding.
Step 2: Add them to Kilo GMS
There are two workflows, depending on your setup.
If you use the Gym Lead Machine to Kilo GMS integration
This is the recommended path. If you have approved the integration between Gym Lead Machine (GLM) and Kilo GMS:
Mark the opportunity as Won in Gym Lead Machine.
The contact pushes into Kilo GMS automatically as a new athlete.
No double entry is required.
If you do not use the integration
Go directly to Kilo GMS.
Add the athlete manually as a New Athlete.
Step 3: Have them activate their account
As soon as the athlete is added to Kilo GMS, whether manually or through the integration, Kilo GMS automatically sends an Activation Email.
Do this while the athlete is still sitting in front of you.
Have them:
Open their email.
Click the activation button.
Set their password.

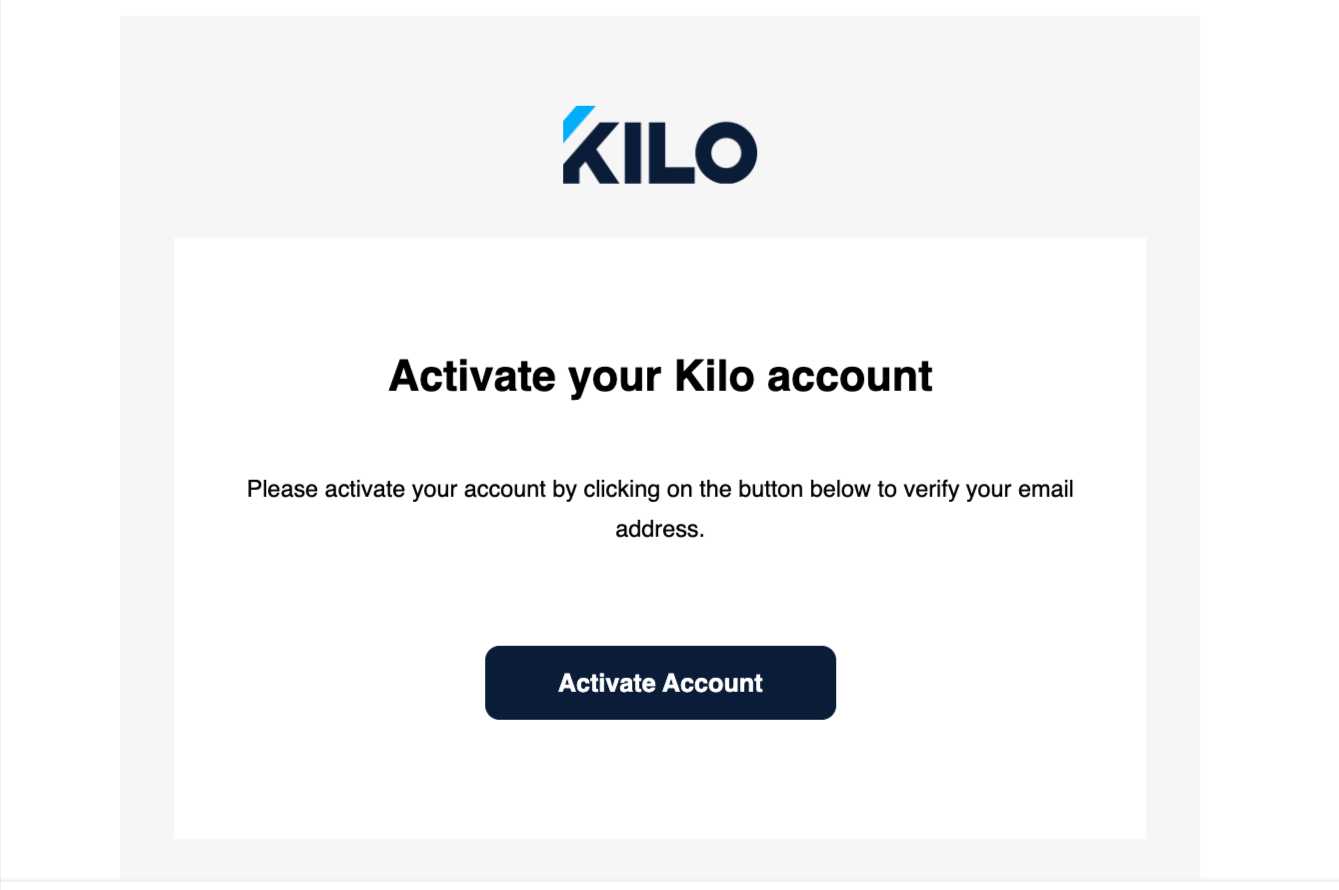
Activating on the spot prevents:
"I never got the email"
Forgotten passwords
Delayed onboarding
Support tickets later
Step 4: Have them log in
Once the account is activated, have the athlete download the Kilo Members app.
Make sure you physically see them log in successfully. If they can log in now, they will not struggle later.
Step 5: Have them add a payment method
Once the athlete is logged in, guide them to:
Add their payment method
Confirm it saves properly
Collect payment information at the time of sale whenever possible.
Waiting to collect payment details later almost always creates friction and follow-up work.
Step 6: Assign the package and process the payment
At this point, the athlete's account is active, they have logged in, and a payment method is saved. You can now:
Assign their package.
Charge them.
The sale is fully completed inside Kilo GMS.
Step 7: Show them how to reserve classes
Once a package is assigned, the schedule automatically populates with the classes the athlete has access to, and they can self-reserve immediately.
Take 60 seconds to show them:
How to reserve a class
How to cancel
Booking window rules
Any waitlist behavior
If you require signed documents before booking, remind the athlete to complete those before they leave.
If you cannot complete onboarding during the meeting
Completing onboarding during the sales meeting is strongly recommended. If that is not possible, you can instead:
Mark the opportunity as Won in Gym Lead Machine
Let the New Client Campaign in Gym Lead Machine begin automatically
Many gyms customize one of the early emails in the New Client campaign to include:
Login instructions
App download links
How to add a payment method
How to reserve classes
Gym expectations
Even when you complete onboarding in person, reinforcing the instructions by email is a smart retention move.
If you have questions about onboarding new athletes in Kilo GMS, our Support team is happy to help. Reach us at hello@usekilo.com.